
Wookey Witch Layout Class
Wookey Witch Layout Class
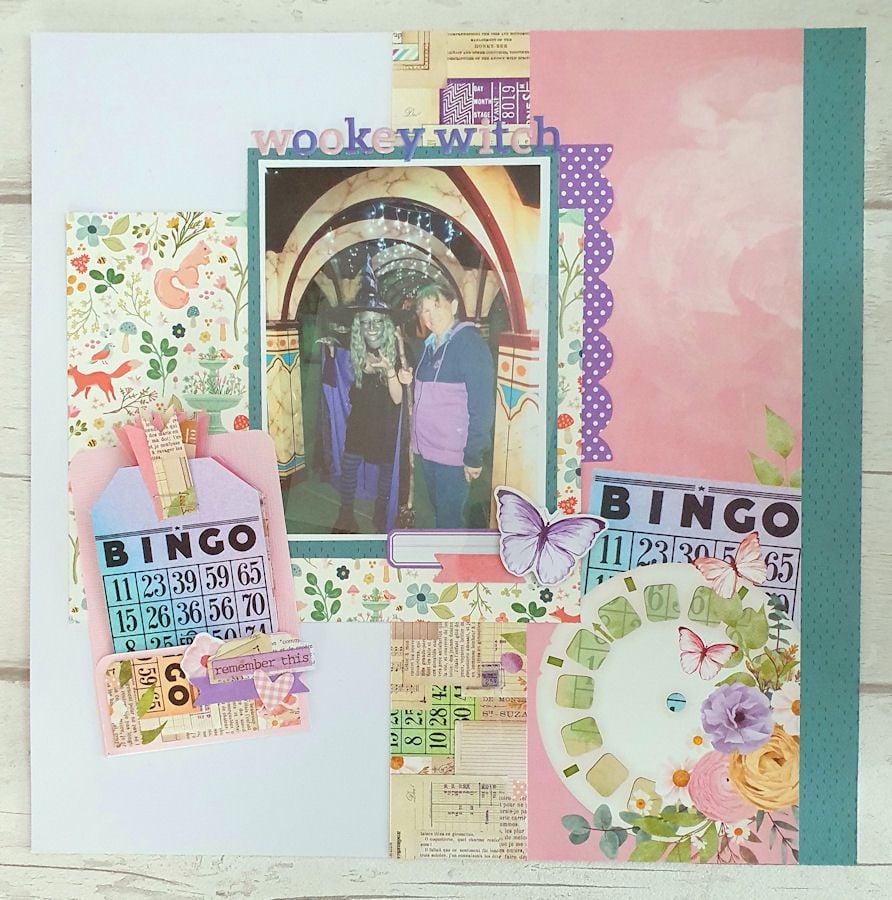
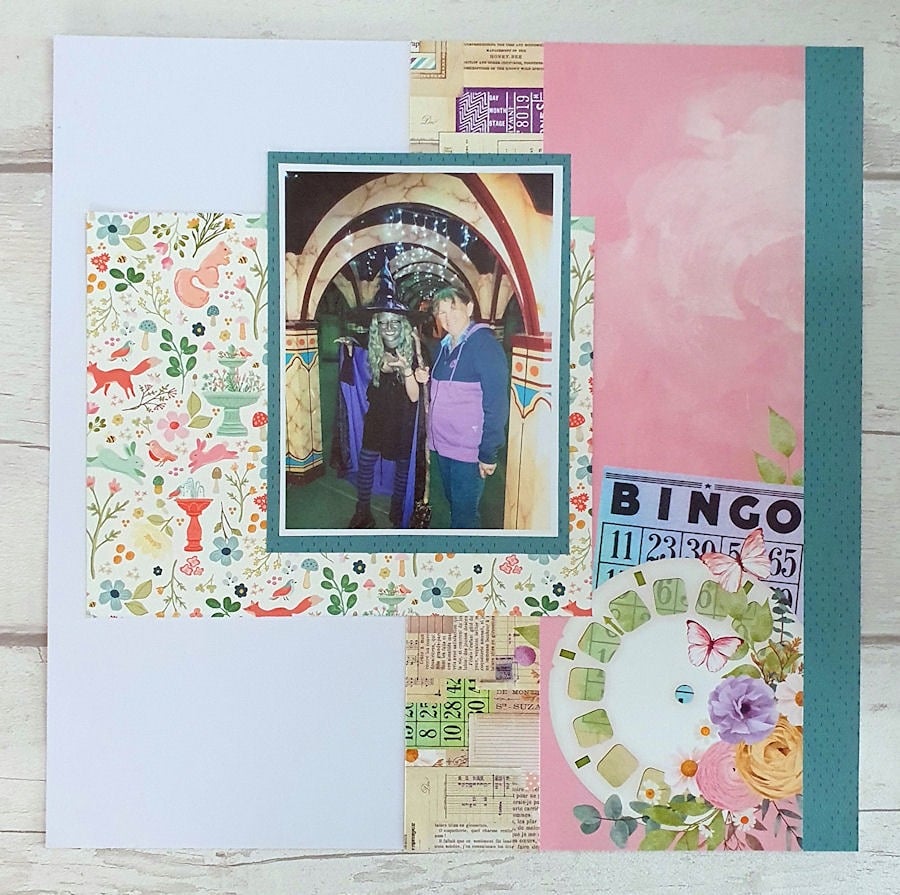
The Wookey Witch Layout is a fun interactive layout with a mini tag book with space for lots of journaling and additional photos.
Tools & Materials
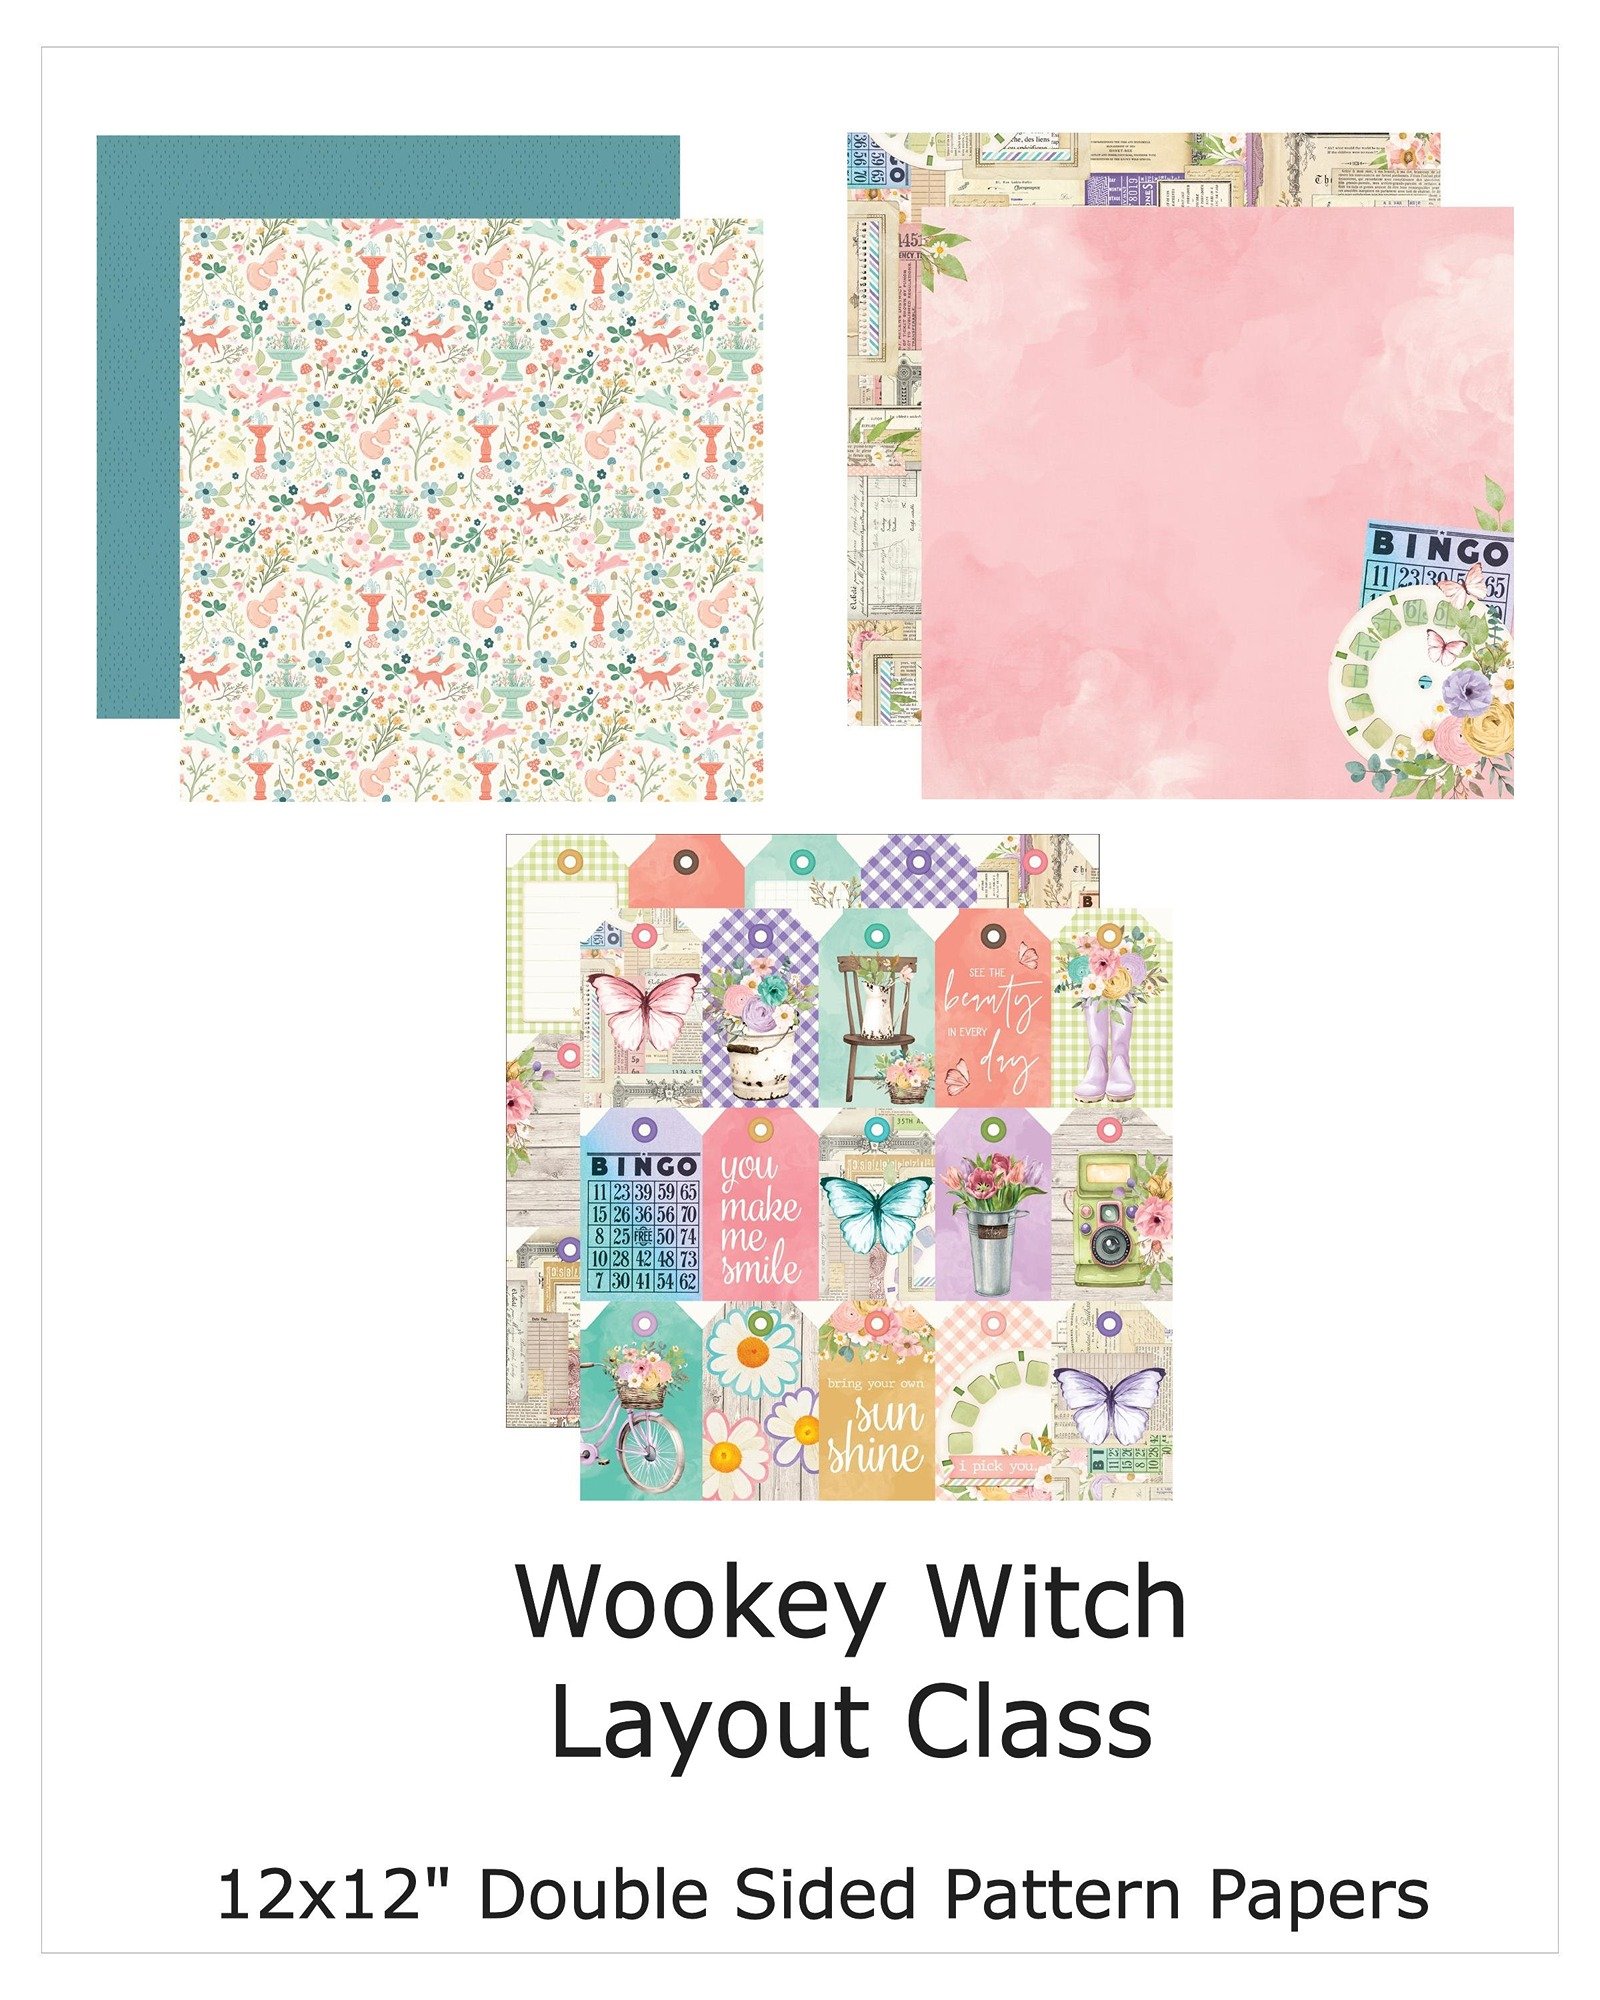
Pattern Paper - Carta Bella Secret Garden - Garden Critters &
Simple Stories Simple Vintage Flower Shoppe - Treasure
Embellishments - Die cuts - selection of Vintage Flower Shoppe Bits & Pieces, Ephemera & Sentiment Pieces
Cardstock - 12x12" White & coloured cardstock (pink)
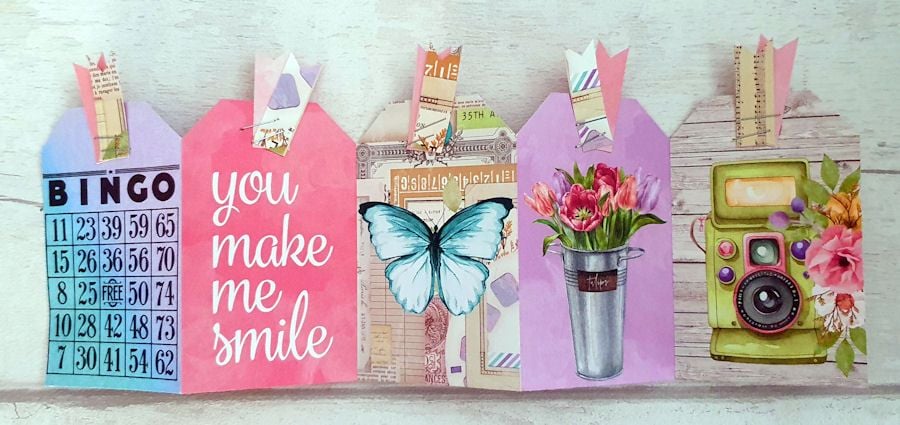
Cut apart tag sheet - Simple Stories Simple Vintage Flower Shoppe
Photo - One 4x6 ” portrait, title alphas, Corner Rounder punch, scoreboard & scoring tool, bone folder, Stapler

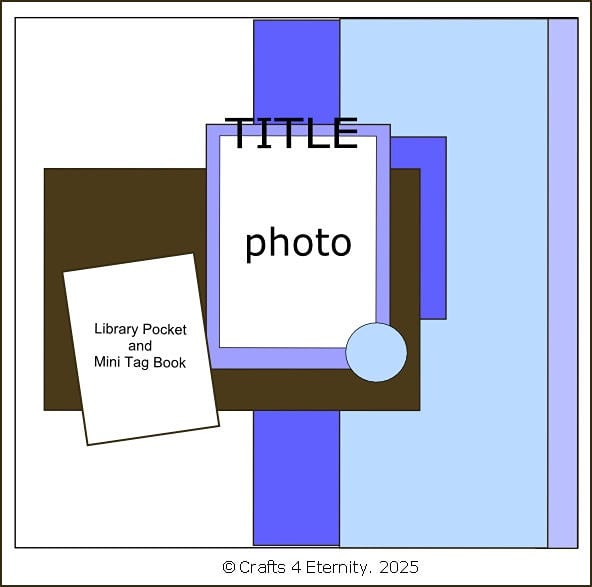
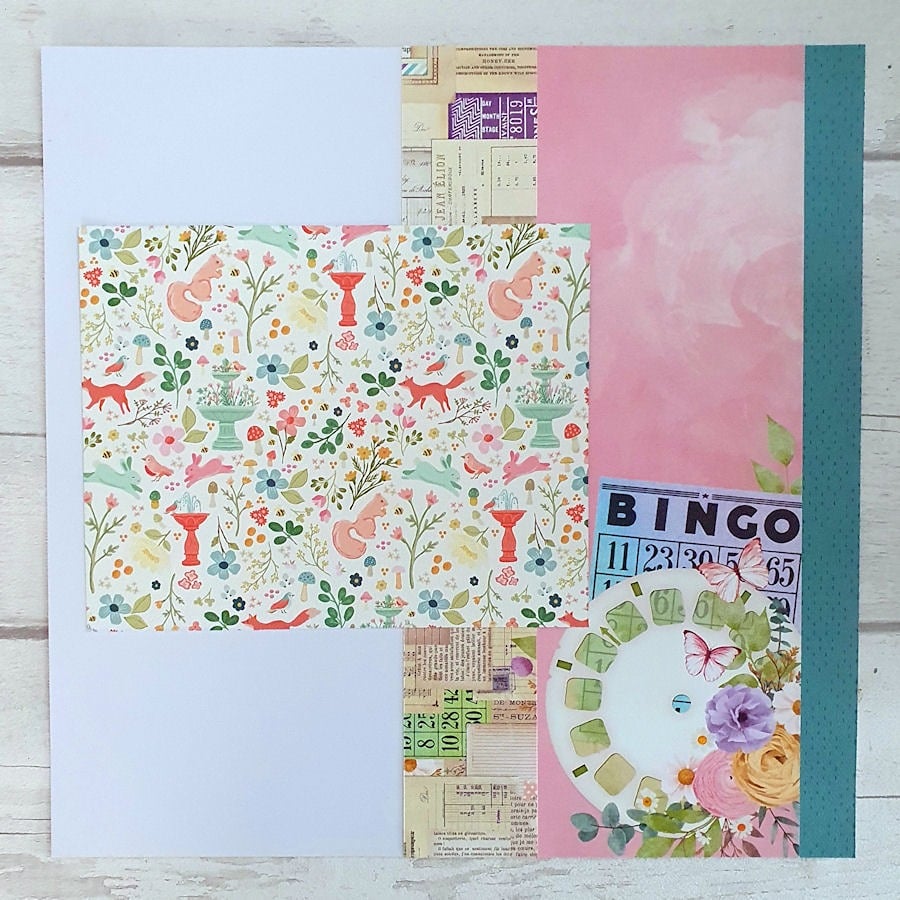
Layout Sketch
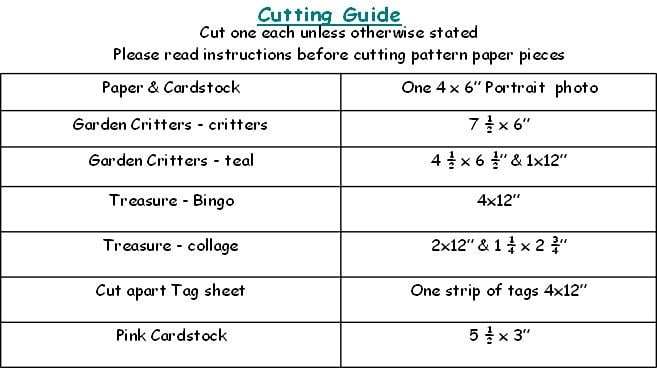
Paper Cutting Guide
Layout Instructions
1. Cut all pieces of pattern paper and cardstock following the cutting guide.
2. Adhere the Teal 1x12” strip of paper on to the right edge of the 12x12” white cardstock base. Adhere the 4x12” Bingo piece next to it with the Bingo card at the bottom of the cardstock base. Adhere the 2x12” collage piece next to the Bingo piece. Adhere the 7 ½ x 6” critters paper on to the layout a little up & left of the centre of the layout.
3. Matt your photo on to the 4 ½ x 6 ½” teal paper. Adhere the photo & matt on to the layout roughly centre of the layout.
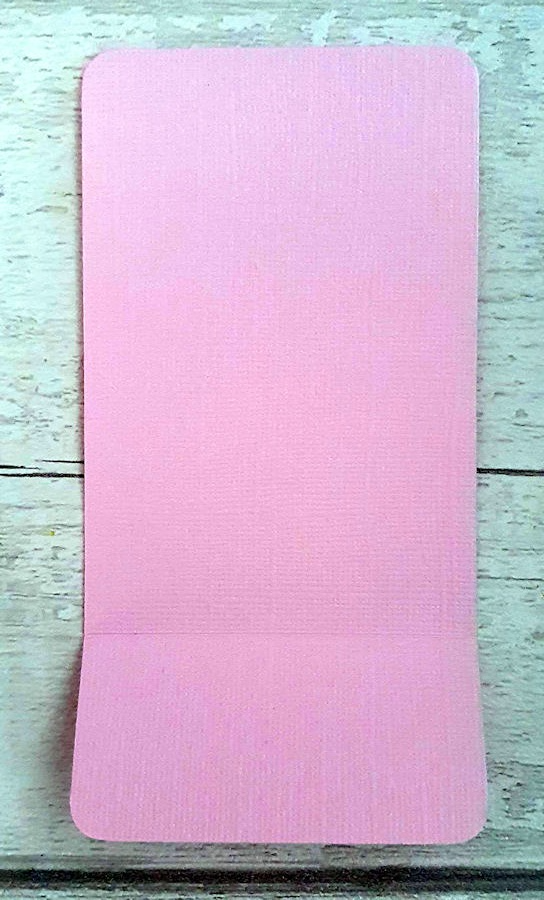
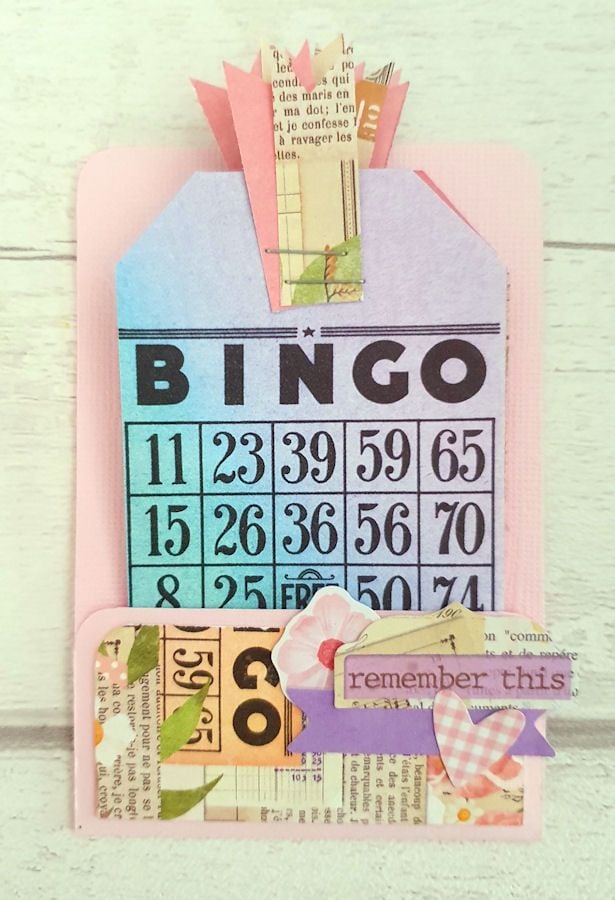
4. Make a library pocket with the 5 ½ x 3” pink cardstock - Score at 4 ½” on the 5 ½” side, fold over the flap & burnish with a bone folder. Round all four corners using a corner rounder. Add narrow double sided tape to the two short edges of the flap, fold up to form a pocket. Adhere the 1 ¼ x 2 ¾” collage paper on to the front of the pocket. Add small die cut embellishments on to the bottom of the library pocket.
5. From the left over pattern paper cut 10 1 ½ x ½” pieces, cut away a small triangle from one short end of each piece to create pennant flags.
6. Concertina fold the strip of tags, use a bone folder to burnish the folds. Staple two pennant flags to each tag. Place in to the library pocket and adhere the pocket on to the layout by the bottom left corner of the photo.
7. Add die cut embellishments on to the layout at the bottom right corner of the photo.
8. Add a title across the top of the photo.
9. Add any journaling & additional touches you wish to add such as enamel dots or paint splatters.
Comments