
One Sheet Mini Flap Album
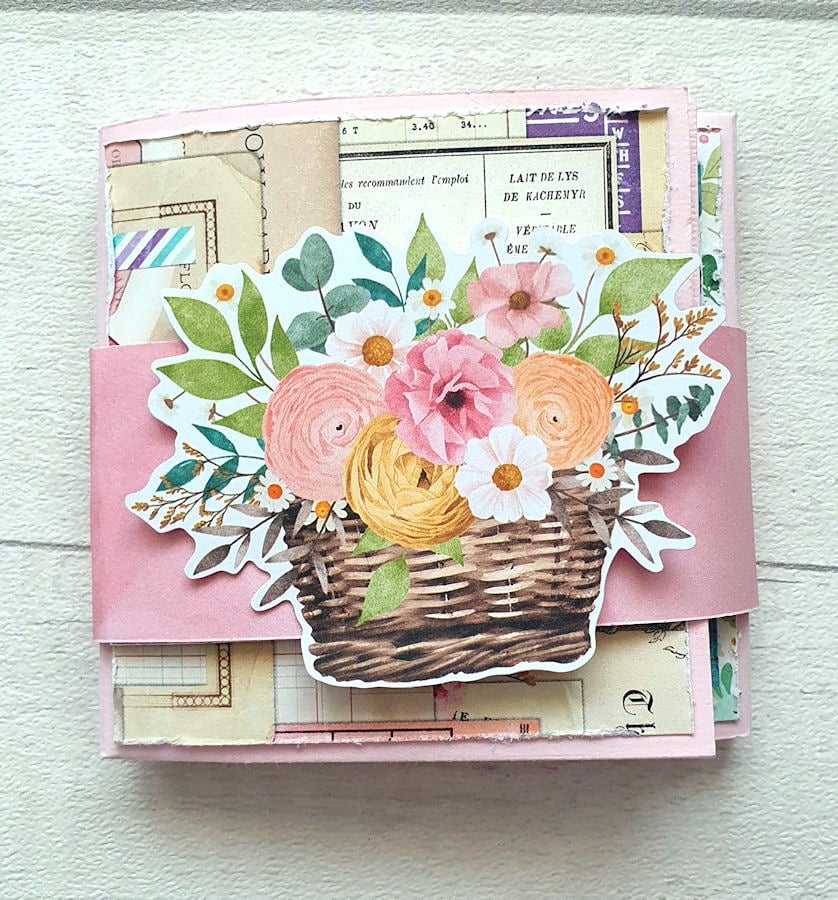
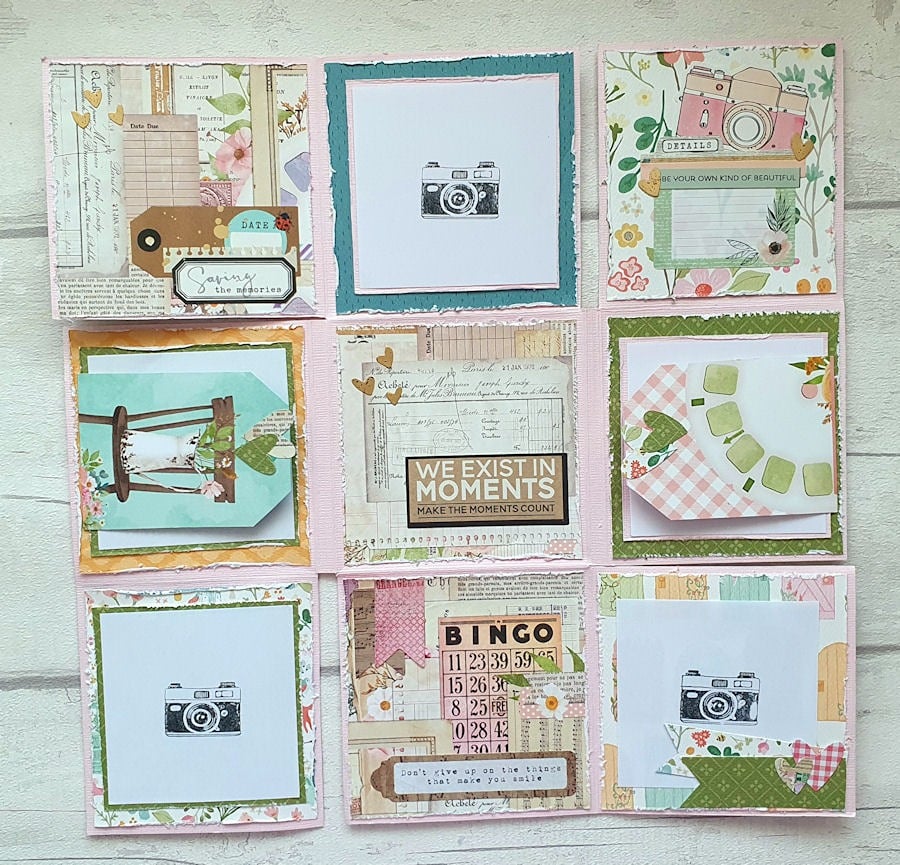
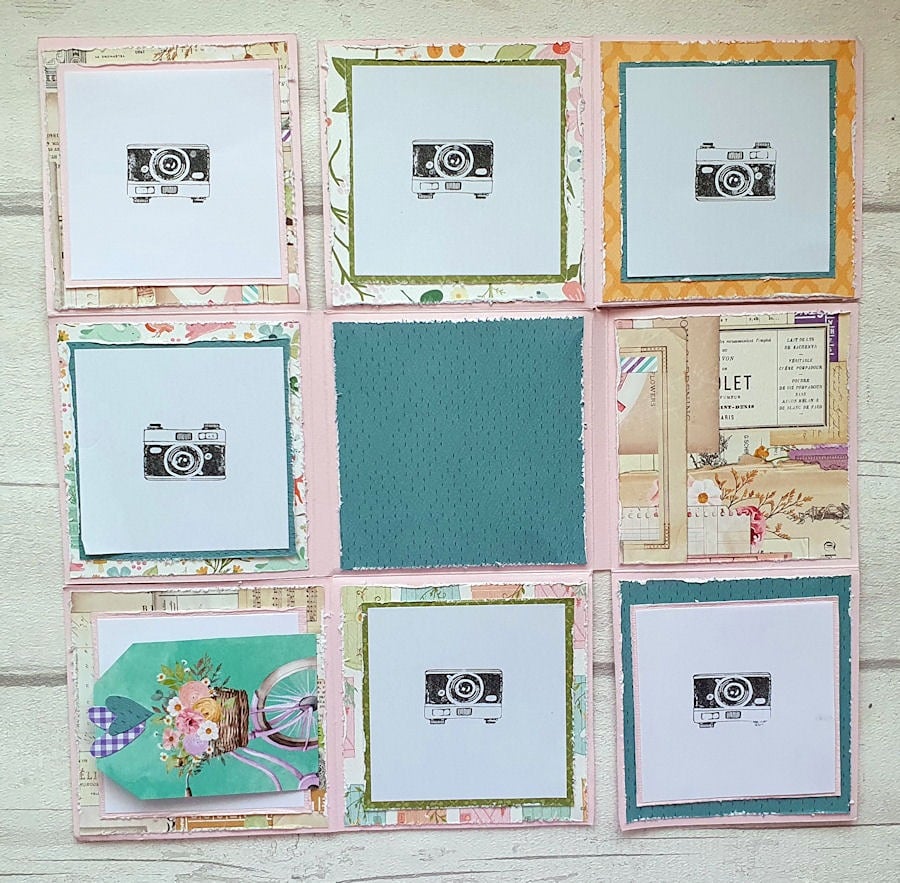
This mini album is made from one 12x12" sheet of cardstock and it's endless! There are lots of places for photos (up to 16 3x3" photos), journaling & decoration.
Tools & Materials
One 12x12” Pink cardstock, , scoreboard & scoring tool, bone folder, craft knife, metal ruler, selection of pattern paper, coordinating die cuts, coordinating tags
Photos -up to 16 3x3”
Mini Album Instructions
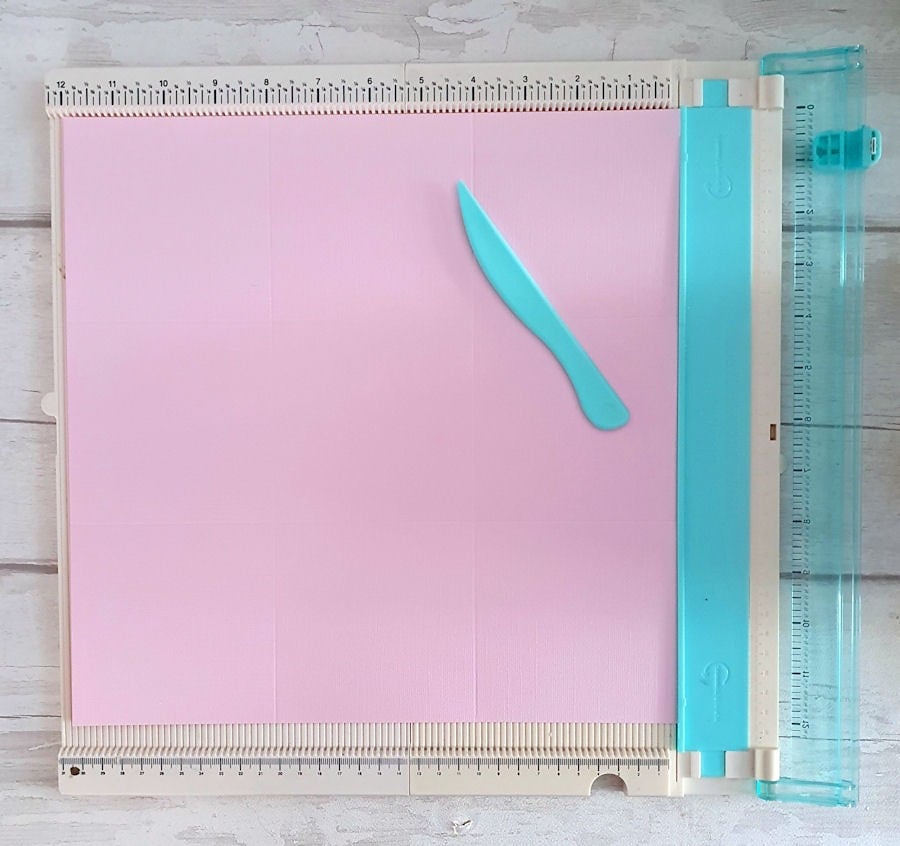
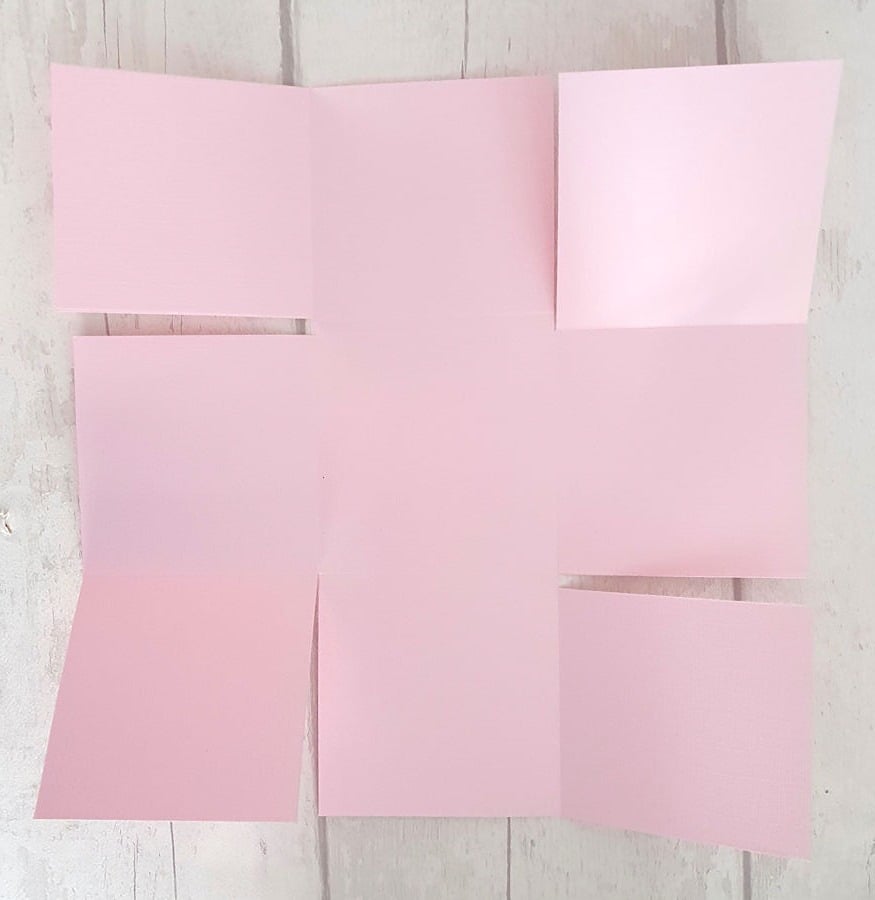
1. Place the 12x12” pink cardstock on to a scoreboard, score at 4” & 8”. Turn the cardstock 90* and score at 4” & 8”. Keep the cardstock in place and score at 3 ¾” down to the first score line (4” down). Turn the cardstock 180* score at 3 ¾” down to the first score line (4” down).
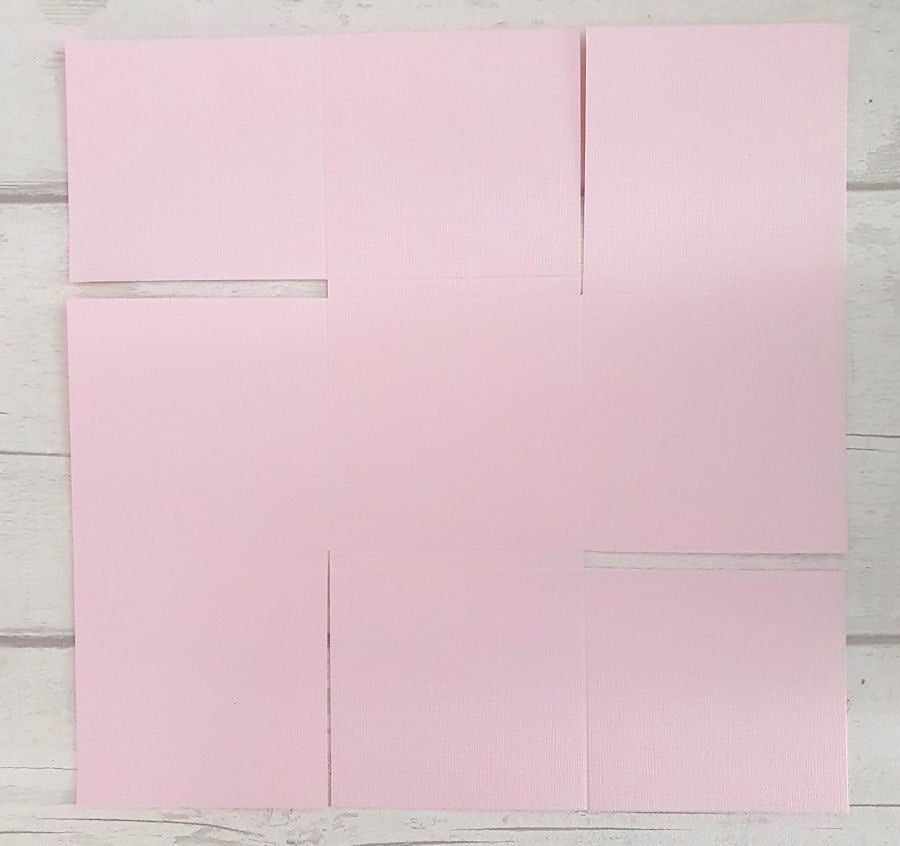
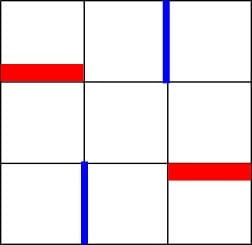
2. Cut away the two 1/2” x 4” strips on opposite corners (red parts on the diagram) using a craft knife. Cut along the score line as shown on the diagram in blue, you will need to cut off an extra small sliver from these cuts to allow the flaps to fold over.
3. Fold along all the score lines. To fold the album fold from the outer corners first, then fold in the top & bottom flaps. Lastly fold the right flap into the centre then the left flap folds over to close the album
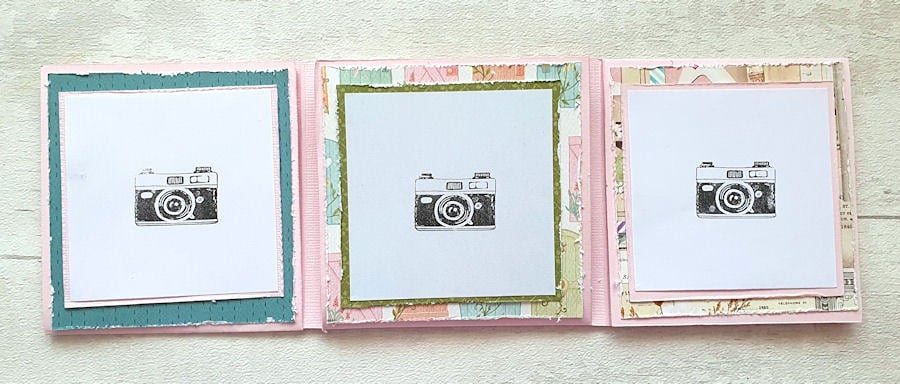
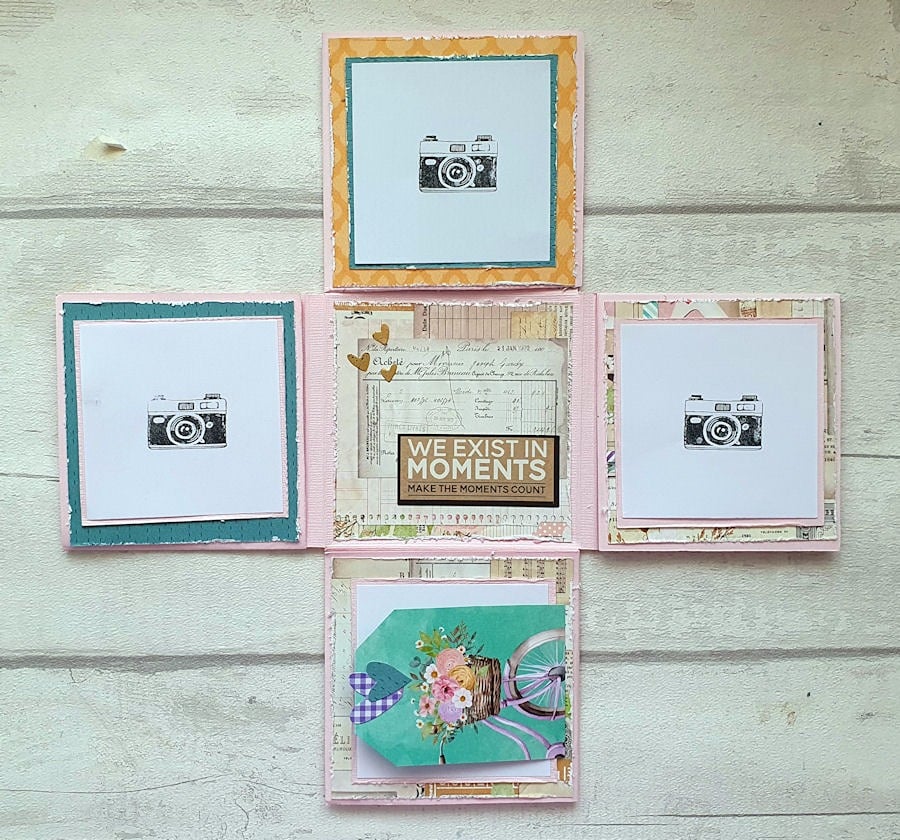
4. Decorate your album with pattern paper, die cuts & photos. Start with the album closed & decorate as you fold out the flaps so that everything is upright when fully opened flat. Measure as you go, the flaps are not all the same size. Add tag flaps to some of the pages by folding the bottom ¾” over adhere to the album by the small flap using double sided tape.
5. Make a belly band closure by cutting a 1 ¾ x12” strip of paper, fold around the closed album to measure, trim off the excess and adhere the ends on to each other to form a loop.
Add embellishments on to the belly band such as die cuts.
Comments